DIY Clear Christmas Ornaments

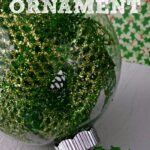
With clear Christmas ornaments and a little bit of ribbon, you can create quick and easy DIY ornaments that are great for gift giving. The kids will love this project, and there’s no mess to clean up.
Making ornaments for the holidays is really a fun activity to get everyone in the Christmas spirit.
I wanted to make a few ornaments for the kid’s teachers, but didn’t want to spend a ton of time on them – you know what I mean, this is the busiest time of year!
I was beginning to get discouraged as I wandered up and down the aisles of the craft store searching for inspiration. And then I spied some green mesh ribbon, all glittery and pretty, and thought just maybe that was the ticket!
So, today I’m sharing a very simple ornament you can make in just a few minutes and with no special tools. These are lovely to make for your own decorating, or to give as a gift.
They’re so simple even the kids can make them! If you have small children, cut the ribbon for them and use shatterproof ornaments).
If you have extra clear ball ornaments, be sure to check out these Marble Christmas Ornaments or DIY Glitter Ornaments which are both super fun to make also.
✂️ Supplies Needed
The following are affiliate links. We are a participant in the Amazon Services LLC Associates Program, an affiliate advertising program designed to provide a means for us to earn fees by linking to Amazon.com and affiliated sites.
- Clear Ornament (you can find these online or at your local craft store.)
- Glittery mesh ribbon (with wire in the sides)
- Scissors
Be sure to check out my Juggling Act Mama Storefront on Amazon where you’ll find all kinds of great products that will make your life easier! Thanks so much for being a part of Juggling Act Mama ❤
📝Instructions
This is meant to be a brief overview of this DIY Clear Christmas Ornaments project. For step-by-step instructions and a full printable tutorial with materials, please scroll down to the teal box below.
- Remove the top of the ornament and set aside.
- This is a wide ribbon, so cut 3-inch pieces of the ribbon, then cut it in half lengthwise. If you can find a thinner mesh ribbon, that would be ideal, but either way will work.
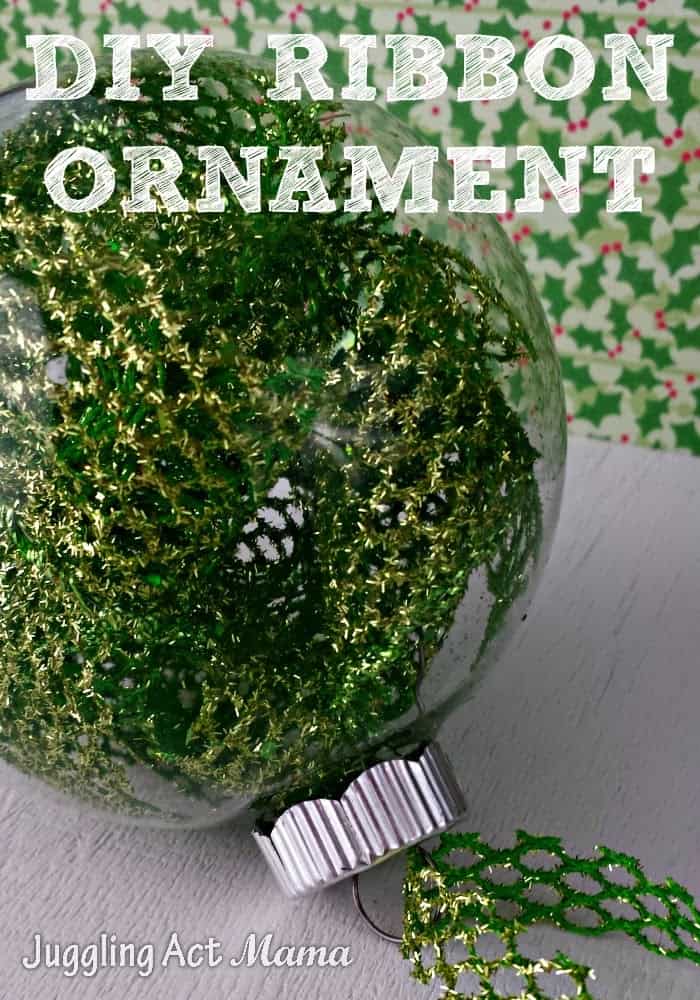
- Curl the ribbon into a spiral, then slip it into the ornament.
- Repeat until the ornament is filled. (The size of your ornament will depend on how much ribbon you use.)
- Replace the top, and add one last piece of the mesh ribbon on the top to hang the ornament.
It’s as easy as that!
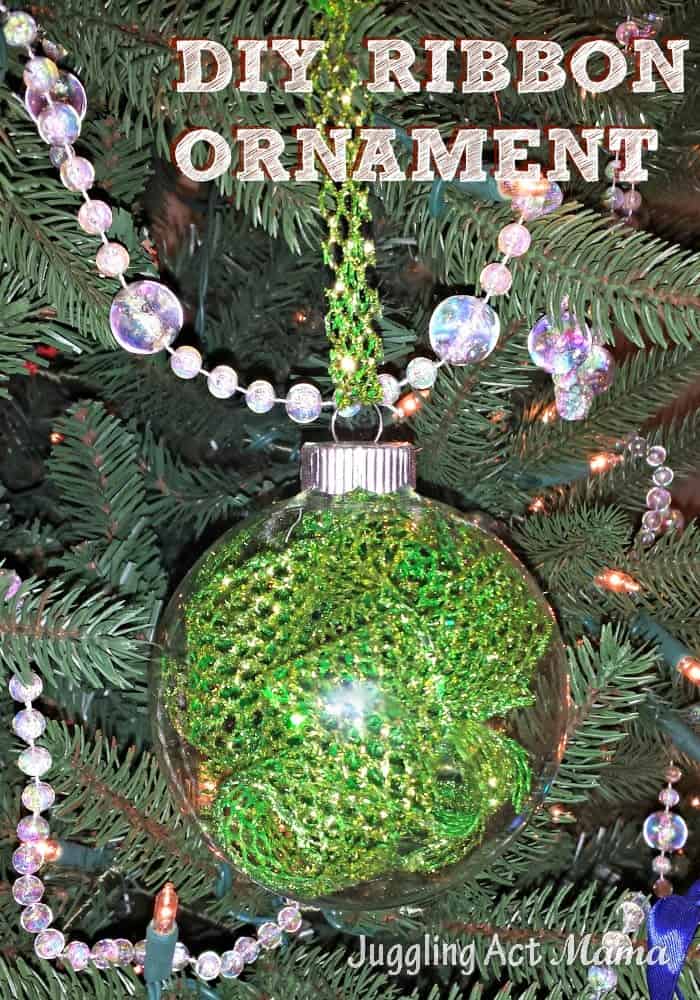
The mesh ribbon allows the light to still come through the ornament and makes the glitter sparkle.
Similar Projects
You might also want to check out this 20+ DIY Ornaments Kids Can Make post with more ideas, or one of these great projects:
- Elf on the Shelf Fun Ideas
- How to Make a Kissing Ball
- Wood Slice Ornament Ideas
- Easy Money Ornament for Gifts
- Galvanized Christmas Ornaments
📋 DIY Clear Christmas Ornaments

DIY Clear Christmas Ornaments
As an Amazon Associate, I earn from qualifying purchases.
Equipment
- scissors
Materials
- Clear Ornament You can find these online or at your local craft store.
- Glittery mesh ribbon With wire in the sides
Instructions
- Remove the top of the ornament and set aside.
- This is a wide ribbon, so cut 3-inch pieces of the ribbon, then cut it in half lengthwise. If you can find a thinner mesh ribbon, that would be ideal, but either way will work.
- Curl the ribbon into a spiral, then slip it into the ornament.
- Repeat until the ornament is filled. (The size of your ornament will depend on how much ribbon you use.)
- Replace the top, and add one last piece of the mesh ribbon on the top to hang the ornament.
Easy, bright and fun! Thanks for sharing 🙂
This is pretty and easy to do! Thanks for the inspiration!