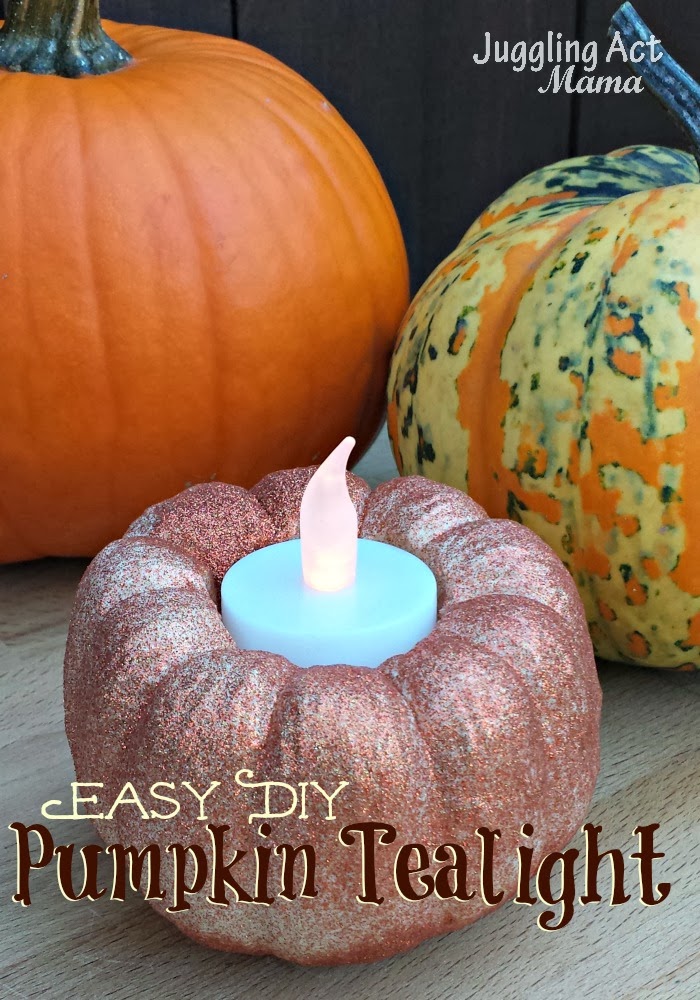
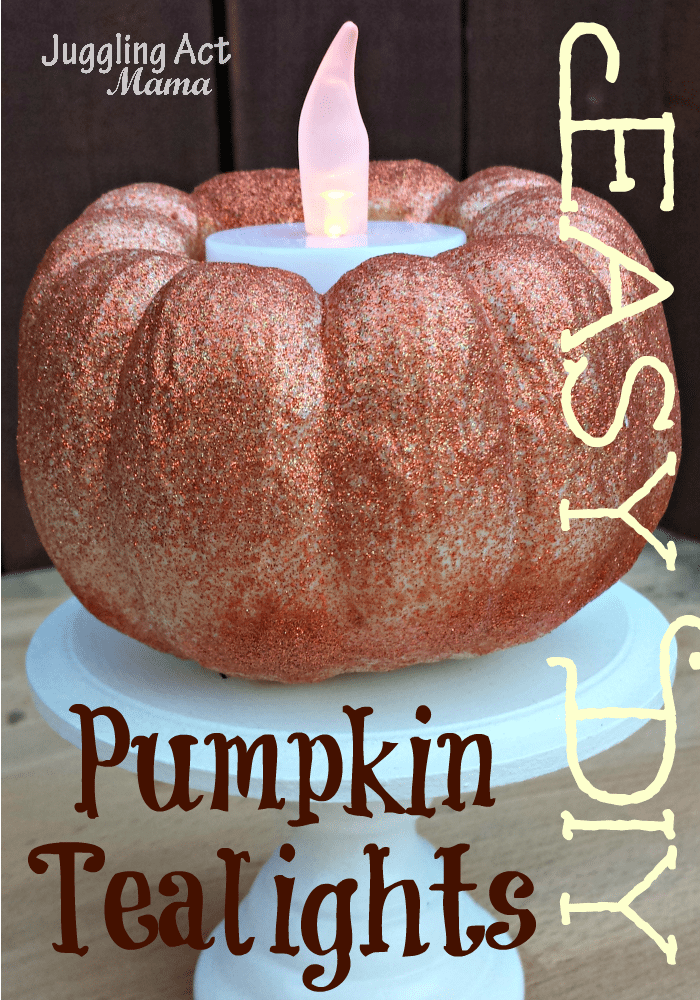
Easy DIY Pumpkin Tealights
It seems like every time we go to the farm stand lately, we’ve picked up a mini pumpkin or gourd for the kids. I’ve got a collection sprawling all over my little mantle and they have become a frequent plaything now for Olivia, who’s decided that it’s fun to rearrange Mumma’s display every day. I decided to make some Easy DIY Pumpkin Tealights with them!
I’ve been drooling over the cute glittered pumpkins I keep seeing in all the stores. Suddenly, it dawned on me that I could make a really cute one myself – and take it a step further by adding a pretty tealight.
This craft is both economical and easy – my favorite kind!I used a white ornamental pumpkin and chose a bronzy orange glitter spray, but you could use a regular (orange) mini pumpkin and any color of glitter spray you like… a combination of orange and gold would be so elegant, and purple and green very fun, too.
Materials
- 1 battery operated tea light
- 1 mini pumpkin (I used an ornamental white one)
- 1 can glitter spray paint (I used a bronze colored glitter spray)
- Knife and Spoon
- Pencil
Instructions
- Using a sharp knife, cut the stem off the mini pumpkin. Place the tea light on top of the pumpkin and trace. Remove the tea light.
- Carefully carve a hole in the pumpkin using the pencil marks as a guide. Scoop out just enough for the tea light to fit into the pumpkin.
- Once you’re happy with the size hole you have, spray the pumpkin with the glitter spray. Allow the paint to dry thoroughly before using.
I love the glitter spray on the white pumpkin, very pretty effect,
These are really cute 🙂 I especially love the glitter 🙂