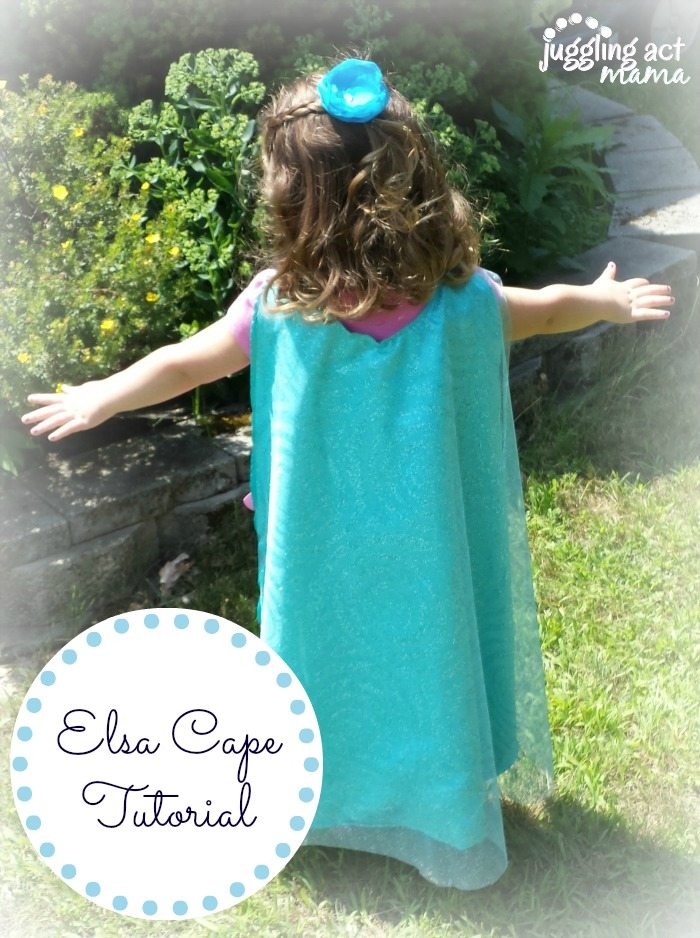
Elsa Cape Pattern


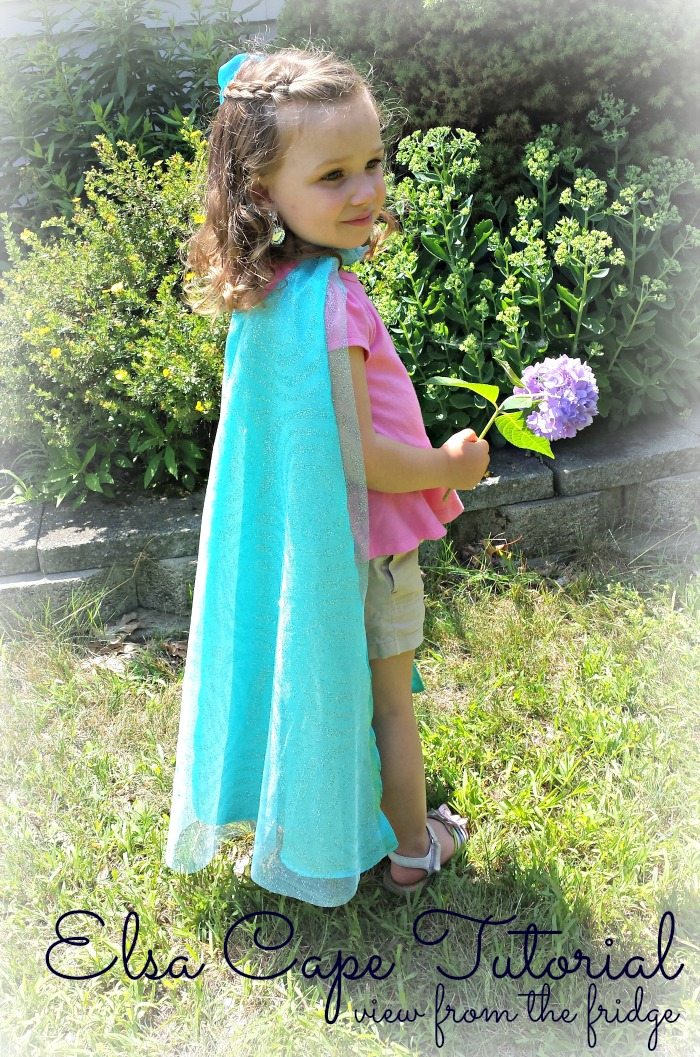
With this Elsa Cape Pattern and step-by-step tutorial, we’ll show you how to create a gorgeous Frozen-inspired Elsa cape for your little one! (You might also want to check out our No Sew Princess Anna Cape Tutorial.)

If your little one wants an Elsa costume from Disney’s Frozen (the first movie), you’ll love this Elsa cape tutorial!
Chances are, if you have little people around your house, then you also have some Frozen fans. Ang’s little girl, Olivia, is no different! Sounds like she loves the movie and … loves Princess Elsa, aka Queen Elsa (do you know any little girls that wouldn’t?)! So …. when Ang sent me an email earlier this month wondering if I could make an Elsa ‘cape’ for Olivia, I was thrilled!
✂️ Supplies Needed
The following are affiliate links. We are a participant in the Amazon Services LLC Associates Program, an affiliate advertising program designed to provide a means for us to earn fees by linking to Amazon.com and affiliated sites.
If you’re making this for a small child, you don’t need too much fabric. Here’s what we used:
- 2 yards of blue satin material (I got mine at Jo-Ann Fabric)
- 1 yard of sparkly fabric (For on top of your cape. I used a light blue sparkly organza, but you could use sparkly tulle or anything similar)
- Sew on elastic squares
- Sewing machine and coordinating thread
- template
Be sure to check out my Juggling Act Mama Storefront on Amazon where you’ll find all kinds of great products to make your life easier! Thanks so much for being a part of Juggling Act Mama ❤
📝Instructions
And here’s how it all goes together:
First, you’ll need to cut three cape pieces out of your fabrics (two out of the satin … one out of the sparkly fabric):
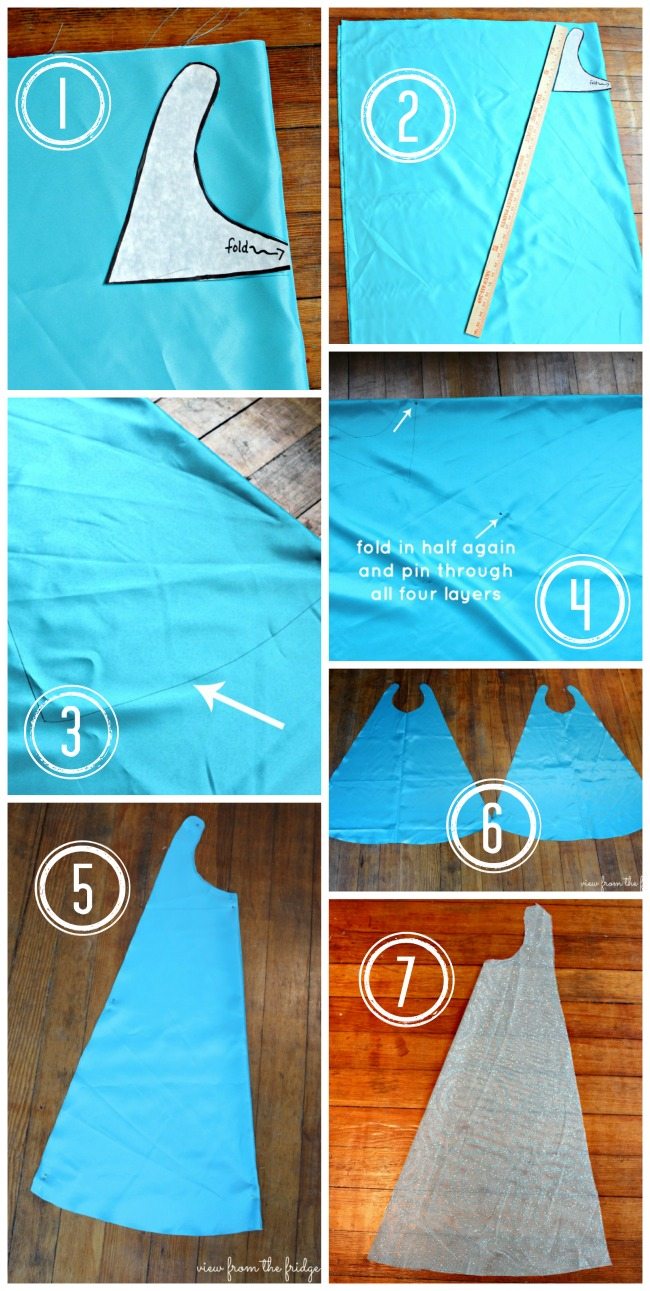
MAKING THE CUTS:
- Fold your satin fabric in half (shiny sides facing), and place the template on the fold as shown in the first picture above. Trace the outline.
- Next, using a yardstick or other straight edge, trace a straight line coming down from the template. For Olivia’s cape, the total length was above 32″ from top of template to bottom (she’s three … adjust accordingly).
- At the bottom of the straight line you just drew, free hand a line back to the fold (see picture 3 above). This completes the outline for half of your cape.
- Now, since you need two of these satin cape shapes, fold you fabric in half again so there are actually four layers under the shape you just drew. Pin the layers together to prevent them from slipping.
- Cut along the outline of the cape you drew (cutting through all 4 layers).
- Making this cut should produce two cape shapes that we’ll sew together in a minute.
- Now … do this same process to cut ONE cape shape out of the sparkly fabric (repeat steps 1-3 and then cut out).
NEXT, SEW YOUR PIECES TOGETHER:
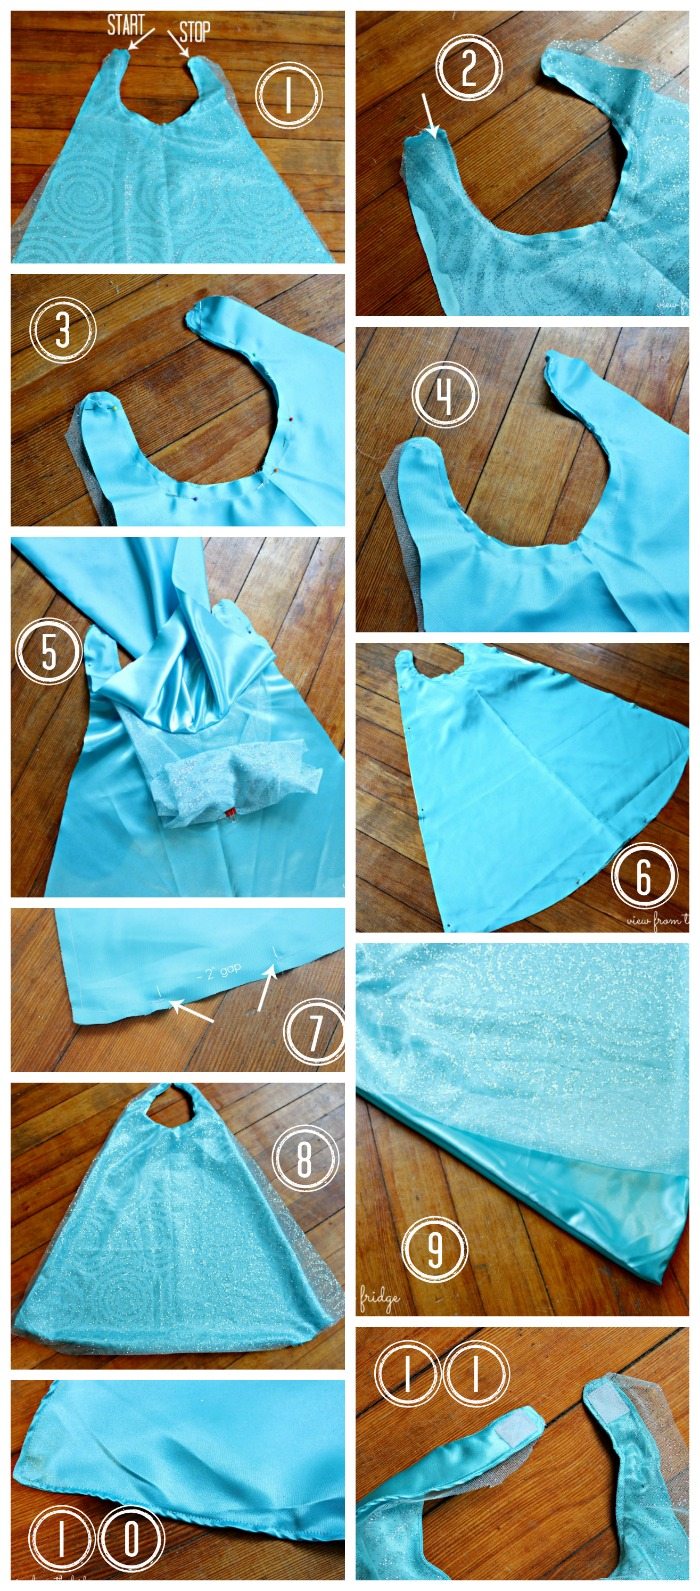
- I wanted this cape to have two shiny satin sides, and then a sparkly outer layer that was loose and ‘flowy’ (you know … for all that twirling a Queen must do). To accomplish this, I first sewed the outer sparkly fabric to one of the satin pieces around the neckline only. Place one of the satin pieces right side (shiny side) UP. Place the sparkly fabric on top (right side UP), match up the necklines, and pin in place.
- Sew these pieces together along the inside of the neckline only (using as small of seam allowance as possible ~1/8).
- Now, place the other satin piece on top of the sparkly fabric FACE DOWN (shiny side down). Pin along the inside of the neckline.
- Sew along the inside of the neckline again, this time attaching all three fabrics.
- Next, pull the sparkly fabric that is sandwiched between your satin fabrics away from all the other edges (you are going to sew the satin pieces together in a minute, but you don’t want the seam to grab any of the sparkly fabric).
- Pin the two satin layers together around all edges (with the sparkly fabric inside … bunched up away from the seam you are about to sew).
- Starting along the bottom of the cape, sew around all the edges, but leave a gap (~3″) along the bottom to allow you to flip cape right side out in a minute (backstitch when starting and stopping sewing).
- FLIP! The best part (in my opinion)! Your cape should now have two shiny pieces on either side, and a ‘flowy’ sparkly layer on top.
- Iron the seam on the two satin pieces of fabric down all the way around the cape.
- Sew a top stitch all the way around the two satin part of the cape. This should close the gap (make sure edges are tucked in when going of the top of the gap) and cause your cape to lay more flat.
- Sew on your velcro pieces to the edges of the cape neckline …. easy access for those 3 year old hands!
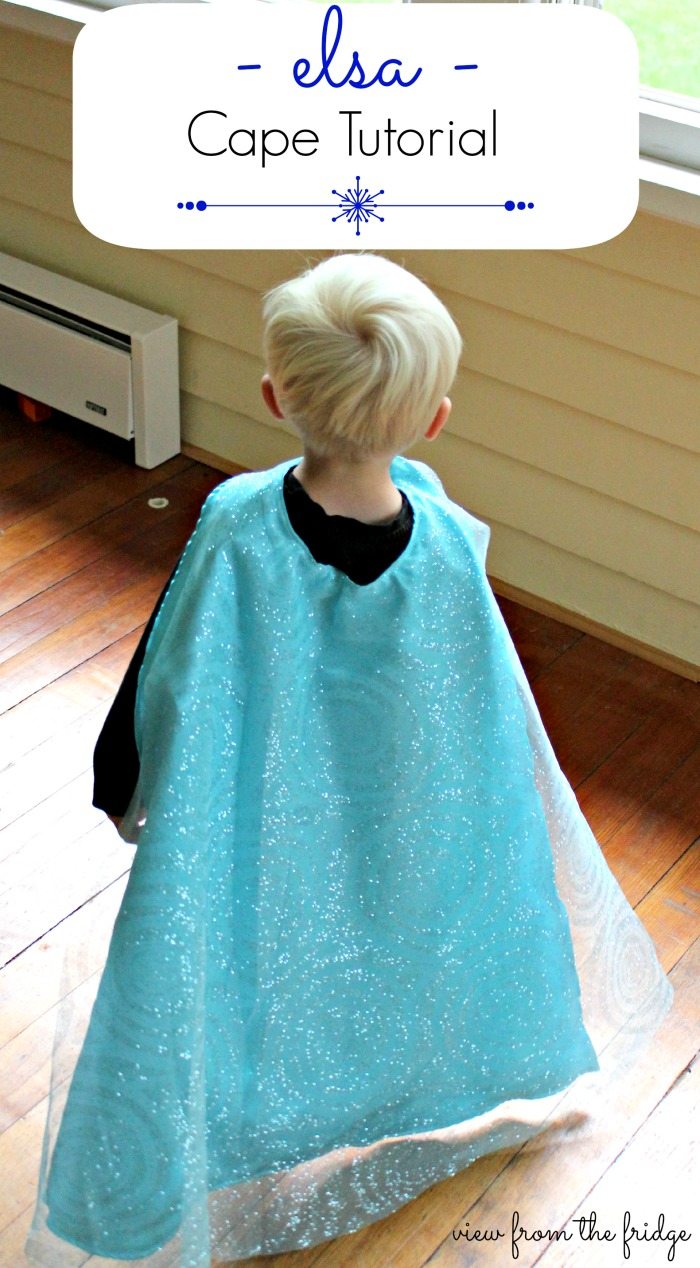
Charlie was a somewhat good sport about modeling the Elsa cape for me!
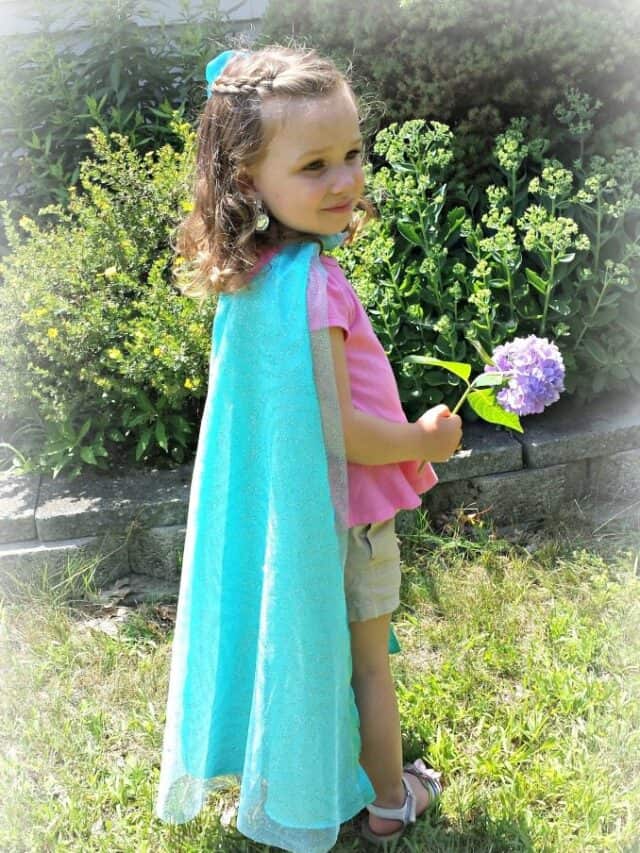
Now, when Olivia received it, she was over the moon about it! She insisted on putting on her princess costume earrings and wearing it immediately! In fact, she has been wearing it all the time while carrying around her Elsa doll!

Do you have any Elsa fans in your house? This cape is pretty easy to make … maybe for Halloween costumes this year?!?
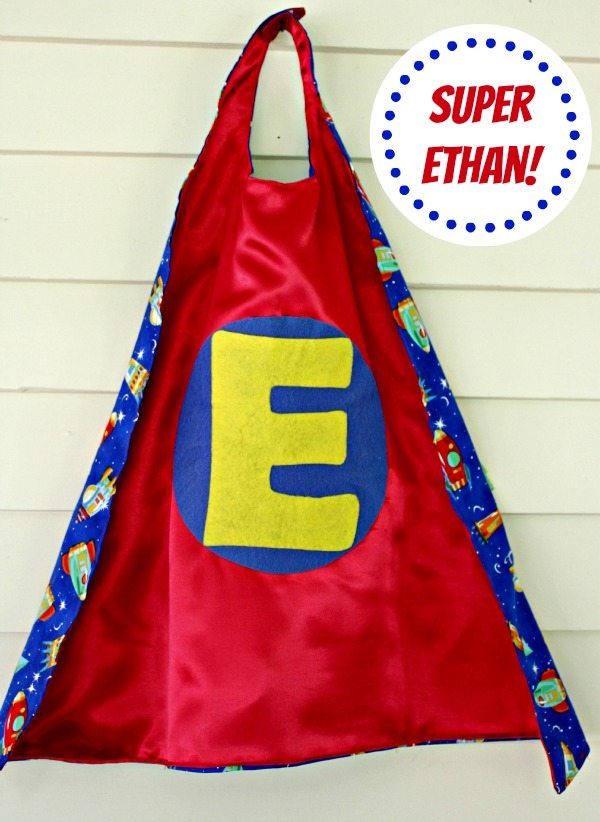
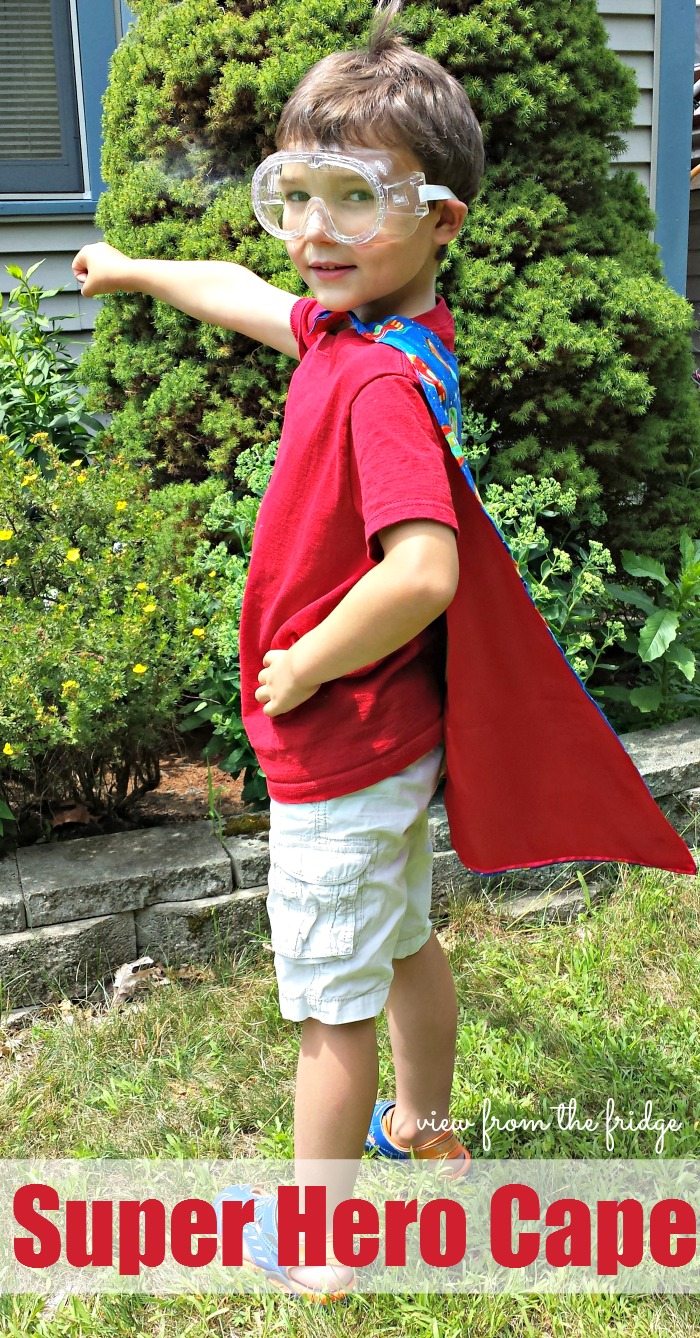
And, because you can’t forget the big brother … we also made a Superhero cape for Ang’s son Ethan. Since Ang tells me he loves space, we made a reversible cape with rocket fabric on one side and shiny red with an ‘E’ on the other.
And Owen modeling Ethan’s …
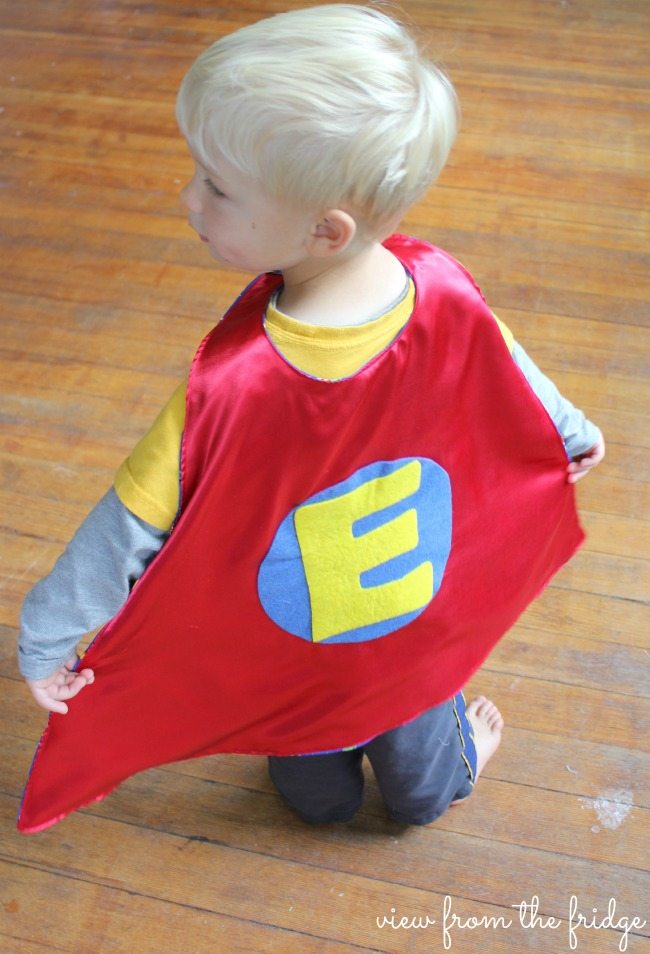
And Ethan got right in the spirit with his cape by donning his wood-working goggles – the wind was quite cooperative, too… don’t you just love that tuft of hair sticking up?
If you’re looking for other fun dress up ideas, check out these 30 DIY easy book character costumes from my friend Karen at Desert Chica.
Thanks for having me today! I was so fun to actually be able to work on a project with Ang’s little people in mind!
🎃 More Halloween Ideas
- Halloween Cookies and Milk Shooters + Party Printables
- Ghost Mason Jar Craft
- Halloween Marshmallow Pops
- OREO Pumpkin Cheesecake Parfait
- Halloween Popcorn Mix

Elsa Cape Pattern
As an Amazon Associate, I earn from qualifying purchases.
Materials
- 2 yards blue satin material
- 1 yard sparkly fabric I used a light blue sparkly organza, but you could use sparkly tulle or anything similar
- Sew on elastic squares
- Sewing machine and coordinating thread
- This neckline template from Almost Supermom.
Instructions
- First, you’ll need to cut three cape pieces out of your fabrics (two out of the satin … one out of the sparkly fabric).
MAKING THE CUTS:
- Fold your satin fabric in half (shiny sides facing), and place the neckline template on the fold as shown in the first picture above. Trace the outline.
- Next, using a yard stick or other straight edge, trace a straight line coming down from the template. For Olivia’s cape, the total length was above 32″ from top of template to bottom (she’s three … adjust accordingly).
- At the bottom of the straight line you just drew, free hand a line back to the fold (see picture 3 above). This completes the outline for half of your cape.
- Now, since you need two of these satin cape shapes, fold you fabric in half again so there is actually four layers under the shape you just drew. Pin the layers together to prevent them from slipping.
- Cut along the outline of the cape you drew (cutting through all 4 layers).
- Making this cut should produce two cape shapes that we’ll sew together in a minute.
- Now … do this same process to cut ONE cape shape out of the sparkly fabric (repeat steps 1-3 and then cut out).
SEWING:
- I wanted this cape to have two shiny satin sides, and then a sparkly outer layer that was loose and ‘flowy’ (you know … for all that twirling a Queen must do). To accomplish this, I first sewed the outer sparkly fabric to one of the satin pieces around the neckline only. Place one of the satin pieces right side (shiny side) UP. Place the sparkly fabric on top (right side UP), match up the necklines, and pin in place.
- Sew these pieces together along the inside of the neckline only (using as small of seam allowance as possible ~⅛).
- Now, place the other satin piece on top of the sparkly fabric FACE DOWN (shiny side down). Pin along the inside of the neckline.
- Sew along the inside of the neckline again, this time attaching all three fabrics.
- Next, pull the sparkly fabric that is sandwiched between your satin fabrics away from all the other edges (you are going to sew the satin pieces together in a minute, but you don’t want the seam to grab any of the sparkly fabric).
- Pin the two satin layers together around all edges (with the sparkly fabric inside … bunched up away from the seam you are about to sew).
- Starting along the bottom of the cape, sew around all the edges, but leave a gap (~3″) along the bottom to allow you to flip cape right side out in a minute (backstitch when starting and stopping sewing).
- FLIP! The best part (in my opinion)! Your cape should now have two shiny pieces on either side, and a ‘flowy’ sparkly layer on top.
- Iron the seam on the two satin pieces of fabric down all the way around the cape.
- Sew a top stitch all the way around the two satin part of the cape. This should close the gap (make sure edges are tucked in when going of the top of the gap) and cause your cape to lay more flat.
- Sew on your velcro pieces to the edges of the cape neckline …. easy access for those 3 year old hands!
Superfans of the movie Frozen will also love these resources:
- simple elsa dress tutorial from All Things with Purpose
- frozen inspired snow princess dresses from The DIY Mommy
Oh my, super cute! My little girl is going to scream with joy when I show her what we’re making this week! Thanks for sharing!!
HI Sara!! Yay, I’m so glad this is giving you the inspiration to make a cape! It’s seriously SO easy! I’ve made my three boys many of ‘superhero’ capes. No glitter and shimmer, but still fun!
Thanks for stopping by!
XO,
Katie
I love your cape so much! Our family is big into Frozen right now. Pinned!
Thanks, Heidi! I’ve tried … my boys just would rather watch Thomas The Train (over, and over, and over …). I would much prefer Frozen!! Ha! Thanks for the comment! Hope you’re having a good week!
XO,
Katie
Gahhh! I must get my sewing skills together! hahha… I loe this cute little cape and so would my little one!
Thanks so much for taking the time to visit and leave a comment! 🙂
Thanks for stopping by, Abby! You don’t need many skills for this cape … seriously, it’s simple! I appreciate the comment! Hope you’re having a good week!
XO,
Katie
My girl is obsessed with Frozen. It is only a matter of time before she starts asking for an Elsa dress. A cape seems like an easy alternative to please her. Fingers crossed. Thanks for the tutorial!
After putting on the cape and exclaiming how much she loved it, my daughter put her hands on her hips and said ‘where’s the dress?!’ Kids are too funny!
HI Michelle,
This cape was SOOO easy! I’m definitely NO expert when it comes to sewing, so this was a very easy alternative to a fancy costume.
Thanks for stopping by!
XO,
Katie
Woah so cool! Can’t wait to try it for my girl 🙂
Let me know how it comes out! 🙂
Hi…Love the idea of double layers for Elsa Cape!
WHERE do you get your satin? Joanne Fabrics stopped selling the costume satin and I’ve tried so many, but one can
never be sure of the colors and drape on-line. MANY THANKS!
Hi Nancy! Ours originally came from Joanne Fabrics. Have you checked Hobby Lobby?
I agree, it can be tricky ordering online when you’re looking for a particular color, sheen and drape 🙂
How wide did you make the bottom of the cape?
You’ll want to adjust it for the size of your child, but ours was 31-inches wide at the bottom.